Kia Cadenza: Steering wheel / Repair procedures
| Removal |
| 1. |
Disconnect the battery negative cable from the battery and then wait for at least 30 seconds. |
| 2. |
Turn the steering wheel so that the front wheels can face straight ahead. |
| 3. |
Remove the airbag module.
(Refer to Restraint - “Driver Airbag (DAB) Module”) |
| 4. |
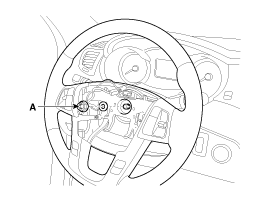
Disconnect the lock nut (A) & connector (B) and then
remove the steering wheel by using special service tools. (09561-11001)
|
| 5. |
Installation is the reverse of the removal. |
| Disaseembly |
| 1. |
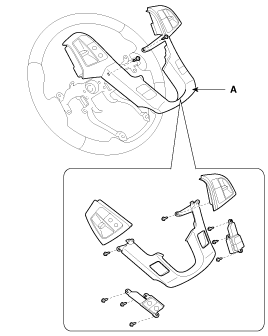
Loosen the screw (6ea) and remove the lower cover (A) from the steering wheel body.
|
| 2. |
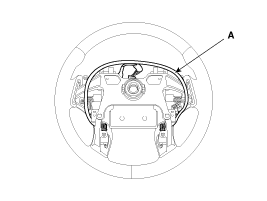
Disconnect the Wiring (A).
|
| 3. |
Loosen the screw (2ea) and remove the remote control assembly (A) from the steering wheel body.
|
| 4. |
Installation is the reverse of the removal. |
 Components and Components Location
Component
1. Driver airbag (DAB) 2. Remote control switch 3. Steering wheel body 4. Wiring 5. Paddle shifter switch 6. Lower cover 7. Heated unit
...
 Heated Steering wheel Description and Operation
Description
When manually selected, the heated steering wheel system
improves the thermal comfort of the driver by heating the steering
wheel.
Heated control unit
Heated pad
Specificatio ...
Other information:
Kia Cadenza YG 2016-2025 Service Manual: TPMS Receiver Schematic Diagrams
Circuit Diagram Connector pin number Pin No.Pinning1V_BAT_ECU2IG_ON3CAN_High4CAN_Low5GND6NA ...
Kia Cadenza YG 2016-2025 Service Manual: Specifications
Specifications ContentValueAFLSNominal VoltageDC 13.5VOperating VoltageDC 9~16VOperating Temperature-40°C ~ +85°C ...
Copyright © www.kcadenzavg.com 2017-2025


